WARDOGS Medic Guide: Revives, Gear, and Not Dying on the Same Sightline
Medic is not a class you pick, it is a progression track. Grab the Medic 2 Field Resuscitator, push to the Medic 11 defibrillator, and think before you revive.

The short version: WARDOGS medic is not a class you select at spawn — it is one of six progression tracks, and you feed it by carrying medical gear and doing medical work. Reviving teammates is an officially cash-rewarding teamplay action, and the Control Zone scores by headcount, so picking someone up converts into both points and money.
Three milestones are all you need to memorise: start with bandages, and get the Medic 2 Field Resuscitator as soon as you can. Then treat the Medic 11 defibrillator as the moment you become a real dedicated medic. The Medic 24 medical bag is a late-game toy, not a beginner goal — we will explain why below.
What a medic is actually earning
Most people assume medic means “heal people”. In reality it stacks three kinds of value:
- Score. The Control Zone belongs to whoever has more bodies inside it, so a revived teammate can walk straight back in and keep scoring.
- Money. The official store description states it outright: reviving squadmates, transporting friendlies and controlling the objective all pay cash, and cash carries across matches. Medic is a role that funds itself.
- Progression. Healing, reviving and fighting with medical-category weapons all feed the medic track. Careful though — levels only unlock the right to buy, the item still costs a one-time unlock fee, and every loadout after that costs money again.
That is also why staying alive is part of the job. if you and the casualty die on the same sightline, your team is down two people instead of holding one.
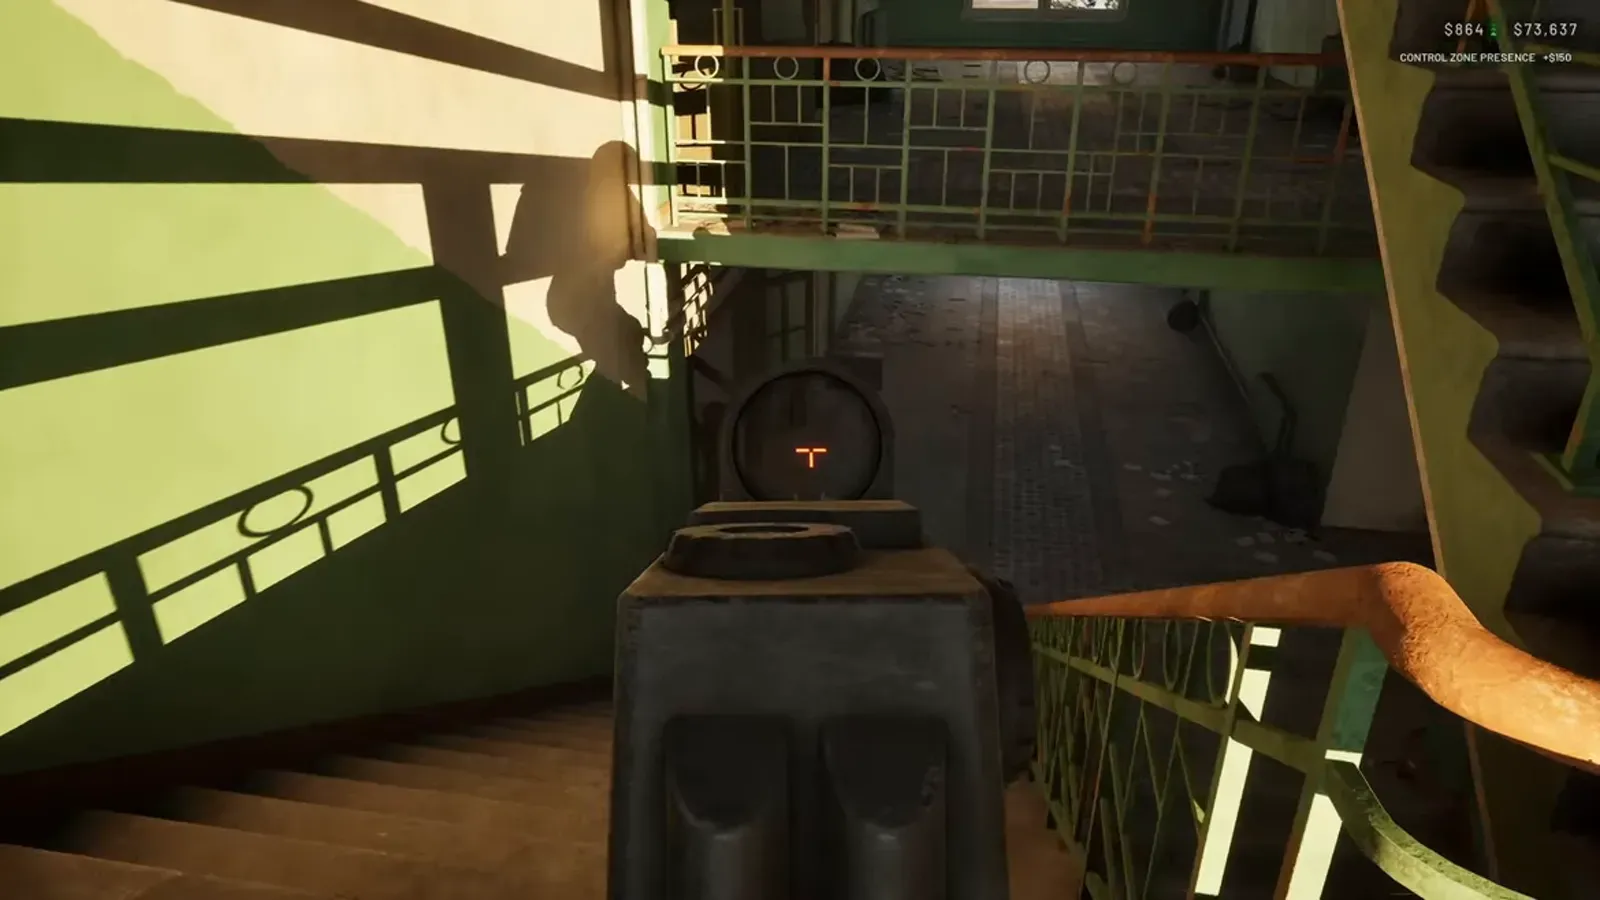
Gear list and what to unlock first
The levels and prices below come from third-party media guides and line up with what a creator was running in live matches on 2026-09-13. These are Season 1 Early Access values and they change with patches.
| Medical item | Unlock | Job | Priority |
|---|---|---|---|
| Bandage | Available immediately | Basic healing | Use it now |
| Field Resuscitator | Medic 2 / $10,000 | First dedicated revive tool | First target |
| Individual First Aid Kit | Medic 9 / $25,000 | Wider medical utility | Mid-game |
| Defibrillator | Medic 11 / $25,000 | Reusable revive milestone | The key unlock |
| Stim Pen | Medic 14 / $25,000 | Gives teammates mobility | After the defib |
| Medical Bag | Medic 24 / $25,000 | Sustained group support | Late game, as needed |
On the weapon side you pair this with SMGs: AMP-9 ($900, available from the start) is the cheapest way to stay alive, PP-19 Vityaz (Medic 4) is the first real upgrade. MP5 (Medic 15) plus Super-45 (Medic 35) are for players already deep into the track. The only rule that matters: buy the weapon you can still afford to rebuild in the worst case.
Defibrillator vs medical bag: barely a contest
This is the one genuine gear dilemma a medic faces. The creator’s verdict from live matches was blunt: the defibrillator is clearly better, and the reason is usability rather than numbers.
| Item | Defibrillator | Medical bag |
|---|---|---|
| How it works | Charge it, then instant revive, reusable | Heal over time, you must hold the injection |
| Weight in practice | About 4.65 | About 3.45 |
| Creator’s complaint | The win is that you can stand someone up now, which matters in a firefight | The problem is it lives in the third slot and cannot be used as a healing kit from a hotkey, so you swap manually, which is miserable |
| Best for | Any fight where “get them up right now” matters | Group chip damage and long defensive holds |
The defib is heavier and buys you “instant”. The bag is lighter and theoretically better for long support, at the cost of fiddly handling. Our advice: build a reliable revive rhythm with the defib first, then revisit the bag once you consistently survive to the late game.
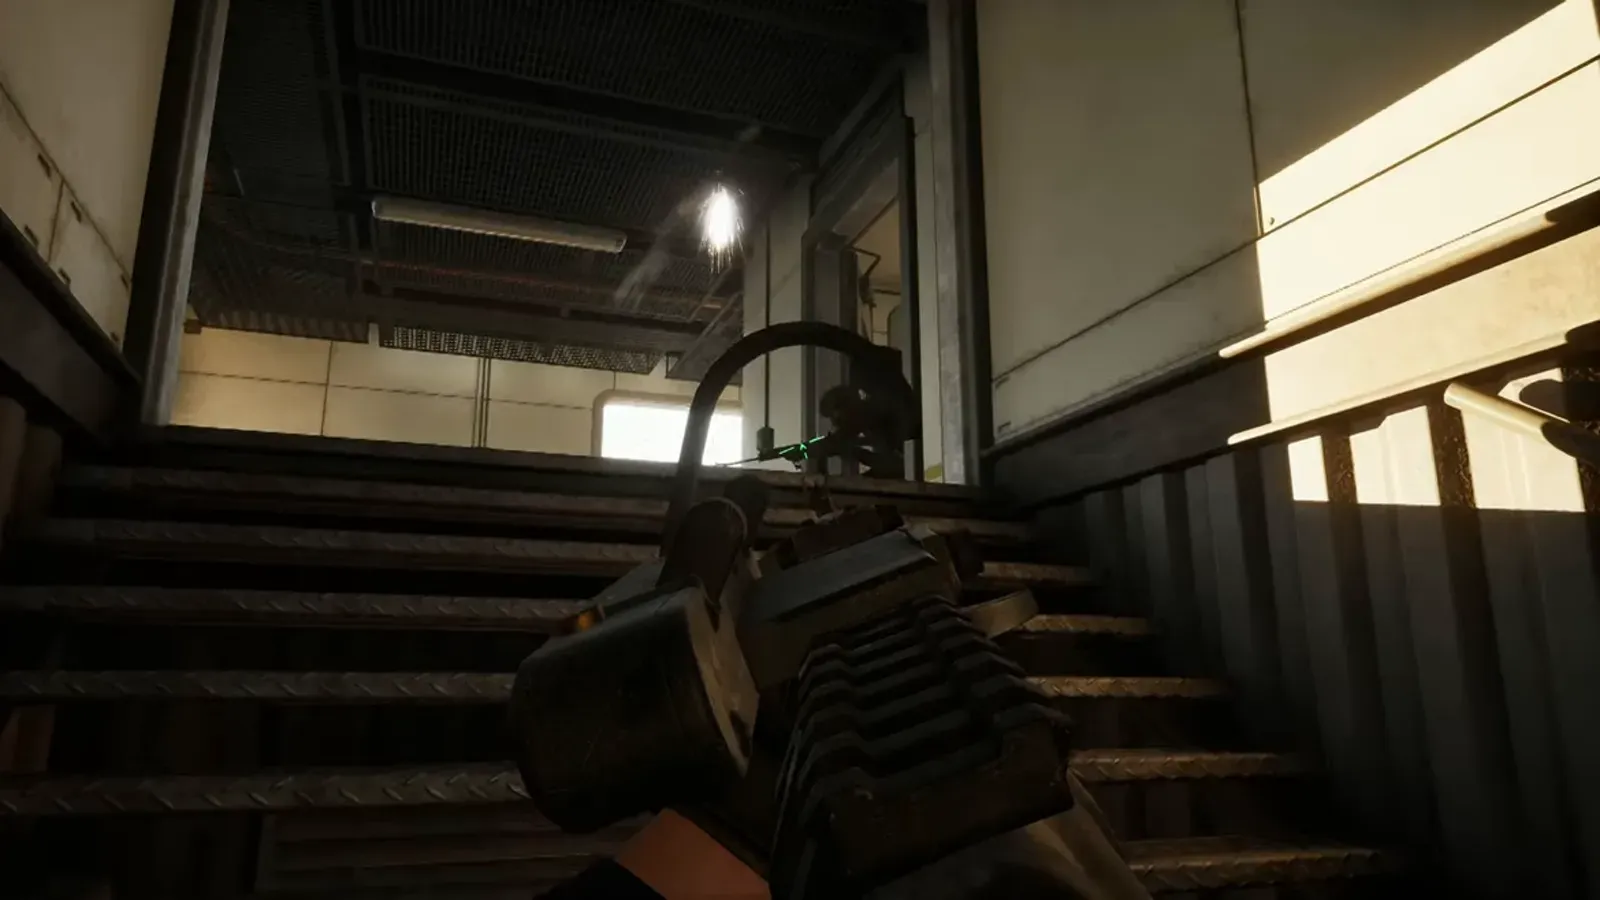
Six revive rules that will halve your death rate
This sequence comes from third-party tactical guides and matches what the creator does live. It is not a game mechanic, it is a decision process.
- Work out how your teammate died. Someone who fell in a road junction tells you that sightline still kills. Do not assume a revive prompt means the spot is safe.
- Change position before you pull out gear. Healing tools do not stop bullets. Walls, ruins, vehicles and terrain all count as cover.
- Let your squad create the window. If they are already suppressing or clearing, wait for that pressure instead of crossing the firing line yourself.
- Never revive from the same exposed spot. Someone just died there. That is information, not coincidence.
- Do not tunnel-vision one casualty. When the whole line is collapsing, staying alive and helping the survivors usually beats trading one revive.
- Remember the third team. In a three-way match, a clean two-team fight can become a three-way sandwich at any moment.
The general positioning rule: behind first contact, ahead of long-range support. Too far back and you cannot reach anyone. Too far forward and you are the first body on the ground. One more structural problem — experienced players spread out and die less, which is harder for medics, so you have to predict where the squad is about to scatter.
The underrated job: base medic
A medic does not have to chase the frontline. The creator repeatedly played as a base medic: staying in the FOB or a building to revive and heal while quietly doing logistics at the same time.
- Unloading supply crates from a URAL paid the creator roughly $720 and 180 XP per crate, all from behind cover.
- On a heavily defended base, two medics make more sense than one: one on the tower, one on the ground.
- If the match is going badly and you are tilting, switch to logistics for a run. The creator’s own habit is “medic when it is going well, transport when it is not”.
The trade-off is limited firepower. The payoff is stability — one failed revive no longer wipes out a whole loadout’s worth of cash.
Four loadout styles
| Style | Best for | Gear focus | Cost |
|---|---|---|---|
| Budget medic | Early levelling, banking cash | AMP-9 plus basic medical gear | Weak firepower, bad in a straight fight |
| Dedicated reviver | Organised squads, hard Control Zone fights | Best available revive gear plus plenty of heals | Almost no weapon investment, worst duelling |
| Combat medic | Urban fighting, frequent breaches | PP-19 or MP5 plus medical gear at your level | Pricier, and a death hurts to rebuild |
| Long-fight medic | Late game, sustained pushes | Medical bag plus heals | Fiddly, and the squad has to stay nearby |
How to tell you are doing it right
Ignore other people’s opinions and check three numbers after each match:
- Revive count. The creator hit 19 revives in a single match and ranked near the top of the revive board. If you are consistently near zero, you are positioned too far back or too far forward.
- Where you died. If most of your deaths happen mid-revive, the problem is rules two and three above, not your aim.
- Your cash after dying. If you can never rebuild your loadout, the thing to downgrade is your weapon, not your enthusiasm for revives.
Six ways medics throw matches
- Playing medic like an assault class. An SMG can kill, but chasing every gunshot is not the job.
- Living on the frontline. If you are always the second person through the door, nobody is left to revive the first.
- Reviving from the same exposed spot. Your teammate was just shot there. That is a clue.
- Only helping people who are already down. Preventive healing is usually cheaper than a revive.
- Buying the most expensive SMG every life. A medic with a cheap gun who lives ten minutes is worth far more than an expensive combat medic who dies on the opening push.
- Staying put when the Control Zone moves. Medical gear only matters where the people are.
Sources and boundaries
Headcount scoring, first to 100 points, the $10,000 starting balance, per-life loadout purchases and the official statement that reviving teammates rewards cash all come from the official Steam store description. The six progression tracks, medical item levels and prices, the SMG list and the positioning advice come from a third-party media guide, G2A: WARDOGS Medic Guide, and are media reporting rather than published official values. The defib and bag weights, their handling, the Medic 11 / Medic 24 unlocks and the base-medic supply earnings come from creator Pirate Software’s live session on 2026-09-13 (NSyT3L4h7p8). They are creator field-testing. Weapon prices can be cross-checked against the GameWatcher weapon database.
Levels, prices, weights and payouts all move with balance patches, and every number here is stamped “Season 1 Early Access” — re-verify after updates. Weapon ranking lives on the weapon testing page, and transport and supply on the vehicles and logistics page. The embedded video is a near ten-hour medic-main stream supplied by the reader, so skip straight to the medical gear segments.
Related Articles
guide
WARDOGS Balance Debate: Infantry, Mortars and Sniper Towers
Infantry feels high-risk and low-reward, the mortar shell camera feels too strong, and sniper towers are brutal. Both sides of the argument, and what changed.
guide
WARDOGS Cheaters and Anti-Cheat: Zero Tolerance, Plus an Honest Admission
Four parallel detection systems and a zero-tolerance policy, plus the developer admitting cheaters slip through and that launch false-banned streamers.
guide
Is WARDOGS Worth It? The $39.99 Checklist Before You Buy
Official facts as of September 14, 2026: $39.99 Early Access, 37 weapons, 3 maps, 1.0 still 1-2 years out. Four checks to decide if it is for you.