WARDOGS Vehicles and Logistics Guide: Transport, Supply, and Heavy Fire
Choose the right WARDOGS vehicle and logistics job for distance, supplies, Control Zone pressure, and team support.

What vehicles and logistics do in WARDOGS
Vehicles are part of the objective loop, not a separate sightseeing system. They move players back to a randomized Control Zone, carry supplies, support forward positions, and pressure buildings that block infantry. Official material also connects transport and revives to cash rewards.
Why the vehicle choice changes the match
The map can cover roughly 256 km² while the match’s Control Zone is a smaller randomized area. A team that walks across a large map may arrive late, lose presence, and spend more lives on the route. A team that commits a vehicle without scouting can lose cash and mobility in one ambush. The useful question is not “which vehicle is strongest?” but “what problem must this vehicle solve now?”
WARDOGS vehicles and logistics roles
Transport
Use transport to shorten the route after a death or rotation. Confirm where passengers will dismount and leave a return path for the next wave. A vehicle that delivers one player and then dies may be less useful than a slower route that repeats safely.
Logistics
Logistics keeps the frontline supplied and supports forward bases. Protect the supply route, announce delays over local voice chat, and avoid sending the only supply vehicle through the same choke point the enemy is watching.
Helicopter support
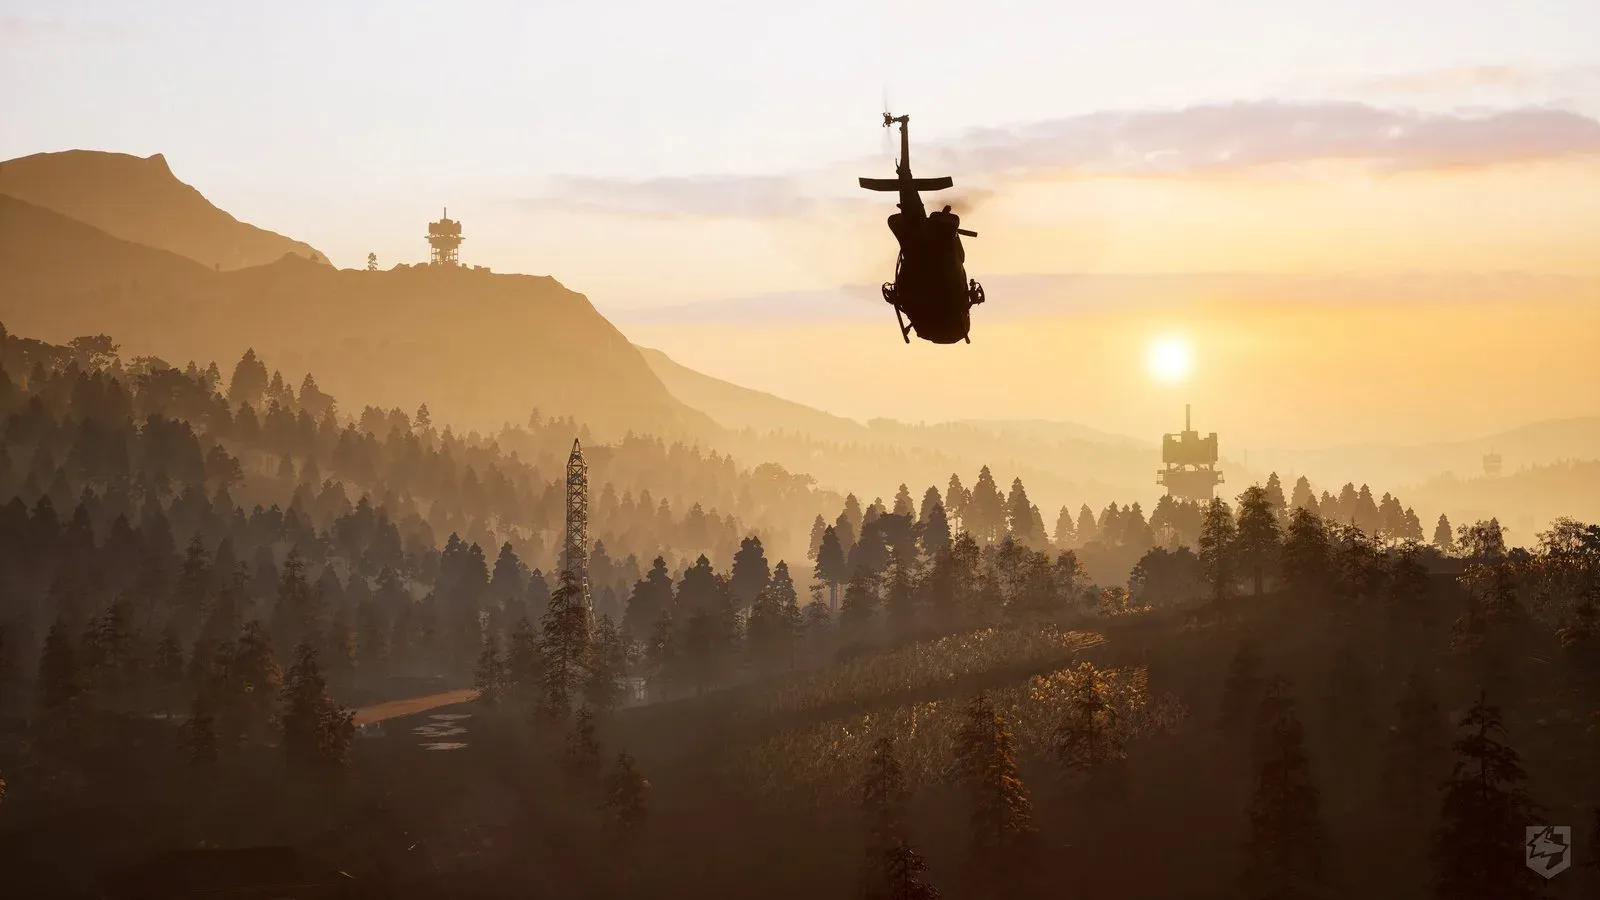
Air transport can bypass a blocked road, but it needs coordination. Agree on the landing or drop route, check whether the squad is ready to move, and keep a backup plan if the aircraft is lost.
Heavy fire
Tanks, rockets, and artillery can pressure enemy buildings and open routes. Use them when destruction changes the approach or protects the zone, not simply because a heavy option is available.
A practical decision rule
Choose transport when distance is the bottleneck, logistics when supplies are the bottleneck, heavy fire when fortifications are the bottleneck, and infantry support when bodies in the zone are the bottleneck. Re-evaluate after each life; the correct role can change with the next zone.
WARDOGS vehicles guide sources
Team17 WARDOGS, Steam, and the related official BULKHEAD video (v1ISv_h_qXY).
Related Articles
guide
WARDOGS Best Loadouts: Five Job-Based Kits and a Build Order
Five job kits cover budget infantry, Control Zone assault, medical/supply, anti-vehicle/breach, and recon. Build around range, weight, cash, and rebuy risk.
guide
WARDOGS Beginner Guide: Roles, First Match Checklist, and Control Zone Basics
A practical WARDOGS beginner guide explaining the objective, role choices, starter cash, communication, and first-match decisions.
guide
WARDOGS Best Starter Weapons: Free Rifles, T-21, and a Safe First Buy
Start with free A-91, Bushmaster M17S, or KH-2002; the $600 T-21 is the clearest automatic upgrade when testing confirms you need it.