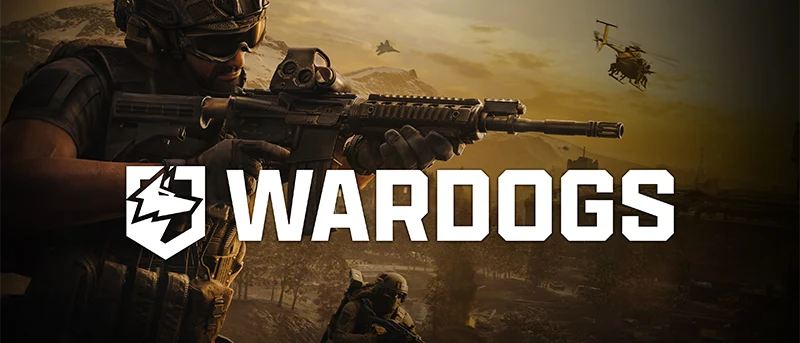
WARDOGS Control Zone Guide: Scoring, Rotations, and Three-Team Decisions
Learn how the WARDOGS Control Zone scores, how to rotate across the large map, and when to attack, build, flank, or support.
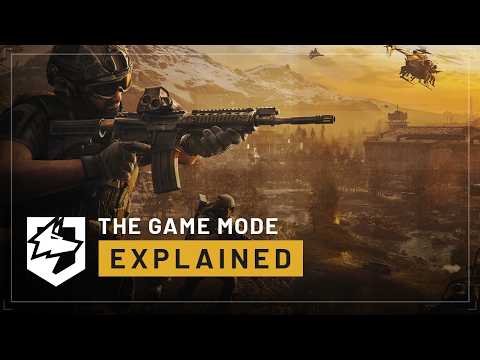
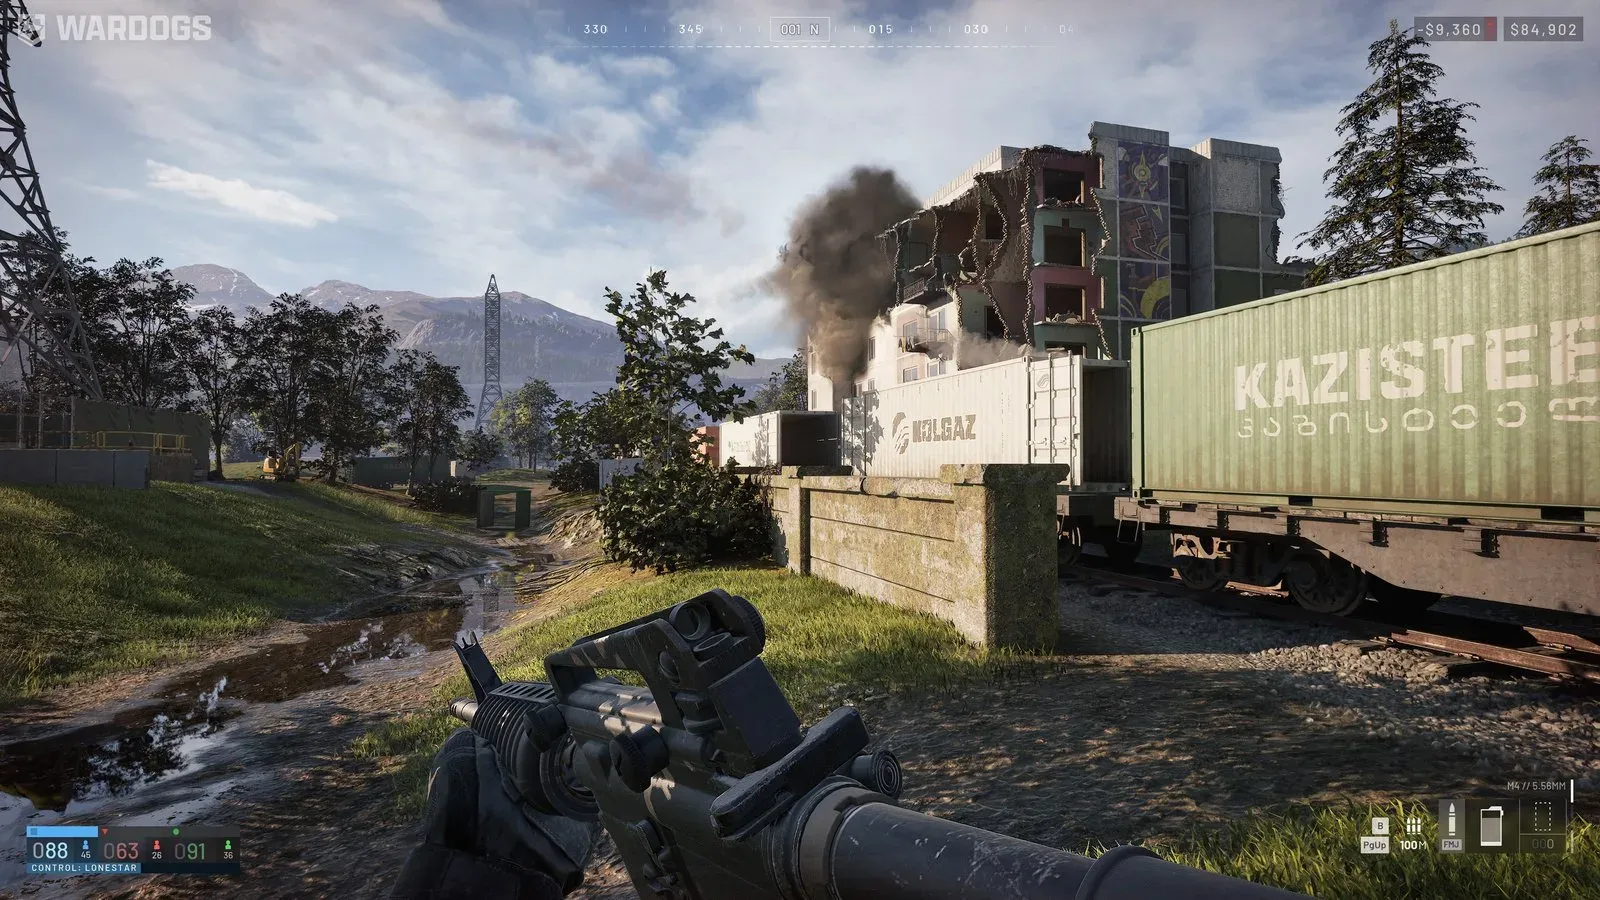
What is the WARDOGS Control Zone?
The Control Zone is WARDOGS’ King of the Hill-inspired objective. Three teams contest a randomized 2×2 km area inside a roughly 256 km² map. Its location changes the approach, cover, vehicle route, and value of each defensive position from match to match; the official pages do not promise that it moves during a single match.
Why presence beats a kill-only plan
WARDOGS rewards the team that can keep bodies in the objective. A squad that wins a duel but leaves the zone can still lose the score race. Transport, revives, supplies, construction, and destruction all matter because they help the team arrive, stay, or reopen a blocked route.
WARDOGS Control Zone scoring loop
- Locate and stage. Identify the zone and choose a rally point outside the most obvious enemy sightline.
- Win the presence check. Move enough players inside to take the advantage, but leave a support or logistics path open.
- Reinforce continuously. Use vehicles, revives, and supply runs so one lost push does not become a full team reset.
- Read the next approach. Scout the route the next reinforcement wave must use and decide whether a flank, build, or heavy-fire option creates more value than a frontal push.
- Protect the score. When ahead, deny the enemy an easy entry and keep a fallback route. When behind, make one deliberate breach instead of feeding players into the same choke point.
- Track the win condition. The first team to reach 100 points wins; the scoreboard should decide whether you attack or stabilize.
Three-team decision making
With three teams, the strongest enemy is not always the closest one. A push that removes one team’s cover can open the route for the third team. Before committing, ask which team benefits from the fight, whether your current lead is worth the risk, and whether a short retreat lets two opponents trade resources.
When to use vehicles and logistics
Use transport when walking back would cost the team more objective time than the vehicle risk. Use logistics when the frontline can hold but cannot sustain supplies. Use heavy fire when a building or fortified lane blocks every infantry route. The correct choice depends on distance, cover, cash, and the next rotation rather than a universal tier list.
Common Control Zone mistakes
- Entering alone before the squad is ready.
- Treating the first visible entrance as the only route.
- Repeating a failed push without changing the angle or the support plan.
- Leaving no vehicle or logistics path for the next reinforcement wave.
- Ignoring the third team while two opponents trade in front of you.
WARDOGS Control Zone guide sources
Team17 WARDOGS is the primary source, with the related official BULKHEAD video (cSn5IGknapM) used for visual context.
Related Articles
guide
WARDOGS Best Loadouts: Five Job-Based Kits and a Build Order
Five job kits cover budget infantry, Control Zone assault, medical/supply, anti-vehicle/breach, and recon. Build around range, weight, cash, and rebuy risk.
guide
WARDOGS Beginner Guide: Roles, First Match Checklist, and Control Zone Basics
A practical WARDOGS beginner guide explaining the objective, role choices, starter cash, communication, and first-match decisions.
guide
WARDOGS Best Starter Weapons: Free Rifles, T-21, and a Safe First Buy
Start with free A-91, Bushmaster M17S, or KH-2002; the $600 T-21 is the clearest automatic upgrade when testing confirms you need it.