WARDOGS Best Loadouts: Five Job-Based Kits and a Build Order
Five job kits cover budget infantry, Control Zone assault, medical/supply, anti-vehicle/breach, and recon. Build around range, weight, cash, and rebuy risk.

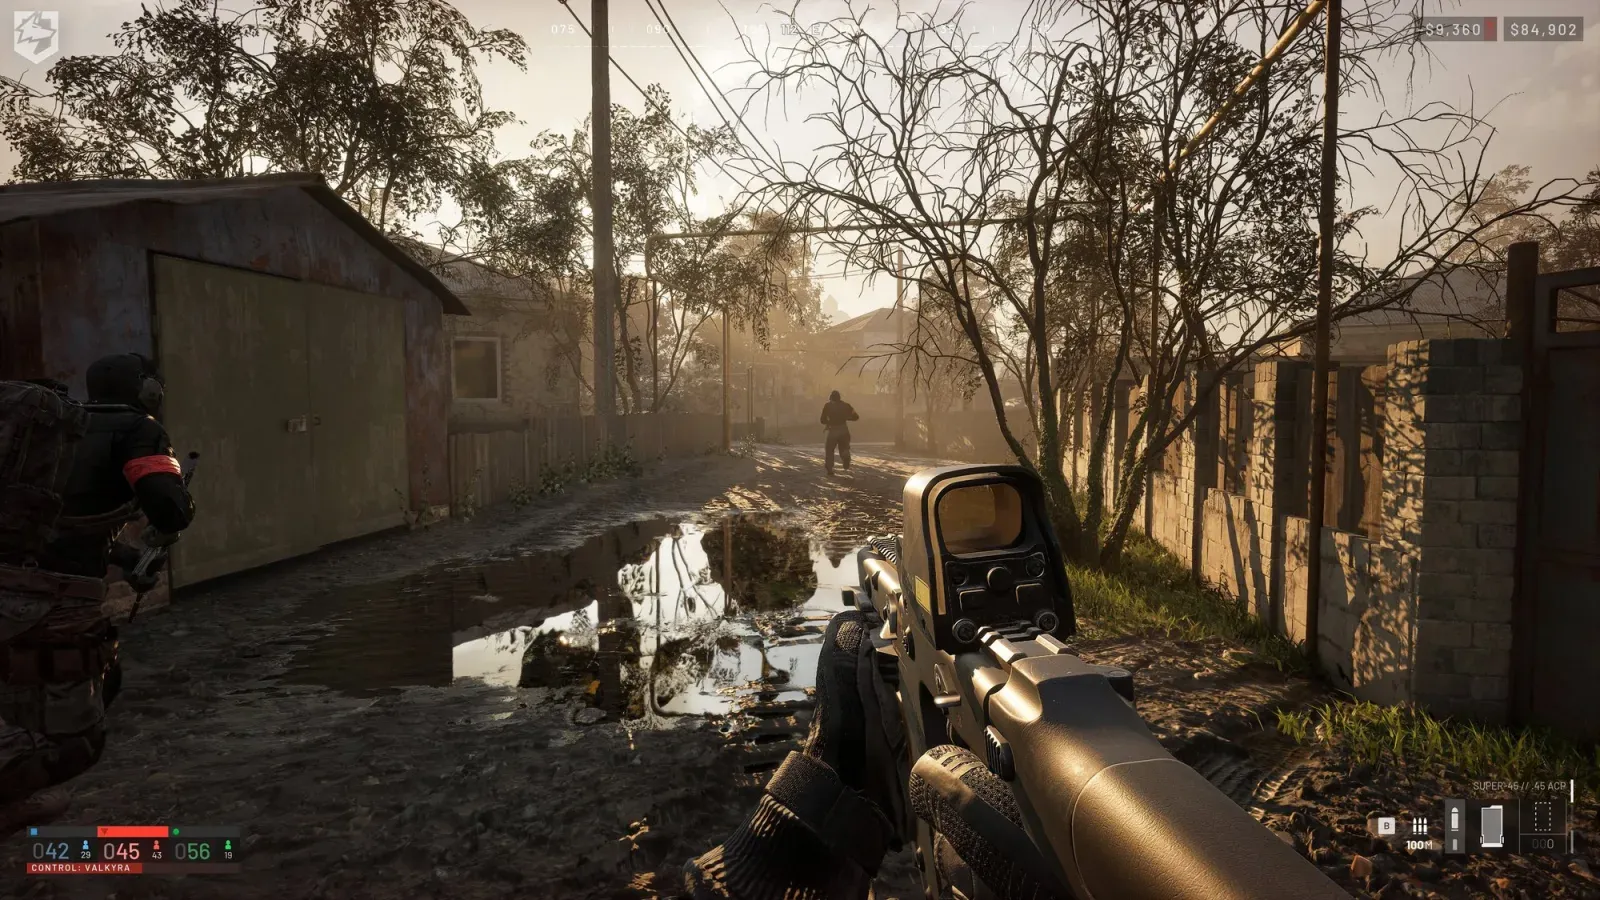
The best WARDOGS loadout is the cheapest complete kit that solves the next battlefield job. Official material confirms that weapons, ammunition, equipment, tools, armor, carried capacity, and vehicles all interact with cash and weight. The five templates below are practical task labels created for this guide, not official classes or locked roles.
The official constraints every WARDOGS loadout must respect
The shop filters ammunition for the current weapon, extra carried equipment adds weight, and weight affects movement speed. Every life requires another custom loadout, while earned cash persists between matches. A weapon with better paper damage can therefore make the full kit worse if it removes the smoke, medical tool, rocket, ammunition, armor, or mobility needed for the objective.
Control Zone position also changes the answer. A close village entry, a long open approach, a supply route, and an enemy vehicle demand different tools. Start with the job and distance, not a favourite gun.
Five practical WARDOGS loadout templates
| Job template | Core kit priority | Use it when | Trade-off to accept |
|---|---|---|---|
| Budget infantry | Free or low-cost general-purpose rifle, compatible ammunition, basic protection, one team utility | Cash is low, the route is uncertain, or the team needs another reliable body in the zone. | Less specialization in exchange for easy rebuy and flexibility. |
| Control Zone assault | Controllable close-to-mid-range weapon, entry ammunition, protection, smoke or breach utility | The next life must cross a contested approach and establish presence. | Higher short-term spend and weight; avoid carrying tools that do not support the entry. |
| Medical or supply support | Reliable light weapon, ammunition reserve, medical or supply tool, protection matched to the route | Teammates are winning fights but losing revives, ammunition, or reinforcement tempo. | Lower personal firepower in exchange for sustained team presence and cash-generating support. |
| Anti-vehicle or breach | Affordable defensive primary, launcher or destructive tool, task ammunition, minimum survival equipment | A vehicle, fortified building, or blocked route is the actual bottleneck. | Heavy specialist gear can slow movement and becomes wasteful once the target disappears. |
| Recon or precision | Precision-capable weapon, appropriate ammunition and optic, light survival utility, planned exit route | The squad needs route information or controlled long-range pressure before moving. | Less value inside a close objective and greater punishment if distance collapses. |
Budget infantry
Use the free rifles or a verified low-cost upgrade and keep the rest of the balance available. This is the default recovery kit after an expensive death because it can contest the objective without locking the account into another risky purchase.
Control Zone assault
Prioritize a weapon you can control while moving between cover, then buy only the protection and entry utility required for that route. The purpose is to arrive and remain useful, not to carry every possible tool.
Medical or supply support
Choose a weapon that leaves room for the support item and enough ammunition to stay near teammates. Official descriptions connect revives, transport, supply work, and objective play to team value and cash, so this kit should maximize uptime rather than duel statistics.
Anti-vehicle or breach
Buy the destructive tool only after the team identifies a real target and a safe firing or approach route. When the vehicle leaves or the wall is open, switch next life instead of carrying an obsolete specialist burden.
Recon or precision
Use precision equipment when sightlines and information can shape the squad’s route. Establish an exit before firing; a long-range kit that is trapped inside the Control Zone has lost the condition that justified it.
Repeatable job-first build order
- Write the next-life job in one sentence. Include the objective, expected range, and problem to solve.
- Choose the cheapest adequate primary. Use the starter weapon guide or provisional tier list as evidence, not as a command.
- Add compatible ammunition. Confirm type and carried amount in the current shop rather than relying on an old screenshot.
- Add the job tool. Buy medical, supply, smoke, breach, anti-vehicle, construction, or another utility only when it supports the written task.
- Check protection and mobility. Review total carried weight and remove low-priority items if the kit cannot reach or leave the objective efficiently.
- Check total cost and rebuyability. Keep a cheaper fallback if one death would prevent another useful life.
When to switch loadouts after a death
| New condition | Better response |
|---|---|
| The route becomes shorter and more enclosed | Reduce long-range specialization and build for controlled entry. |
| The enemy commits armor or fortifies a building | Move one or more players to anti-vehicle or breach tools; do not convert the entire team. |
| The zone has enough firepower but loses revives or ammunition | Switch a player to medical or supply support. |
| Cash falls below the safe rebuy level | Return to budget infantry and rebuild through team contribution. |
| The team cannot identify a safe approach | Add recon, transport, or route support before buying more raw damage. |
How to validate a loadout instead of copying it blindly
| Record after the life | Question to answer |
|---|---|
| Total cost | Could the same job have been completed with a cheaper primary or fewer unused items? |
| Total weight | Did movement speed prevent timely arrival, retreat, or rotation? |
| Ammunition use | Did the kit run dry, carry waste, or use the wrong ammunition for the weapon? |
| Tool contribution | Did the utility solve the named problem, or was it never used? |
| Rebuy result | After death, could you rebuild the same job or a useful fallback? |
Change one variable at a time in the range or next match. A lighter kit, different ammunition amount, or cheaper primary may improve the result without replacing the entire template.
Sources and version limits
The cost, ammunition compatibility, carried weight, movement, per-life purchase, persistent cash, and team-role foundations come from Team17, Steam, and BULKHEAD’s Tactical Depth video (MlbxDNtsmUk), checked on 2026-08-31. GameWatcher’s loadout page and weapon catalogue are community snapshots used only for tested-build context. Exact prices, weights, armor values, and attachments can change during Early Access, so the templates intentionally avoid claiming permanent totals.
Related Articles
guide
WARDOGS Beginner Guide: Roles, First Match Checklist, and Control Zone Basics
A practical WARDOGS beginner guide explaining the objective, role choices, starter cash, communication, and first-match decisions.
guide
WARDOGS Best Starter Weapons: Free Rifles, T-21, and a Safe First Buy
Start with free A-91, Bushmaster M17S, or KH-2002; the $600 T-21 is the clearest automatic upgrade when testing confirms you need it.
guide
WARDOGS Cash Economy Guide: $10,000 Starter Budget and Spending Priorities
Learn how WARDOGS cash works, which team actions create income, and how to decide between a safe loadout and an expensive vehicle.